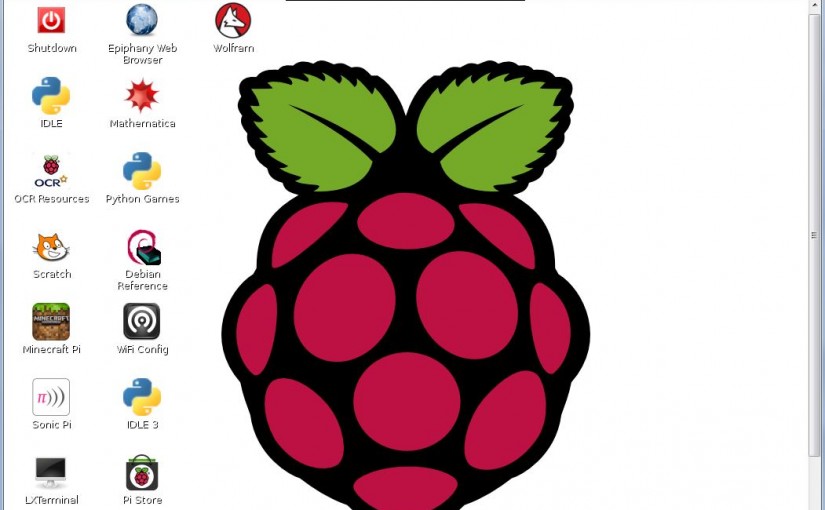
Raspberry PiにDebianをインストール
こちらのサイトを参照してインストール→ http://independence-sys.net/main/?p=975
Windows7にVNCをインストール
こちらのサイトを参照してインストール→http://assimane.blog.so-net.ne.jp/2013-03-27
1、毎回raspberry pi起動時、tightvncserverとして実行必要あり
2、VNC-Viewer-5.2.2-Windows-64bitを実行して、vncが立ち上がる
3、raspberry IP::5901 と、パスワードを入力して、raspberry画面が出る
GW-usmicronを使い、Raspberry Piを無線LAN化
こちらのサイトを参照してインストール→ http://www.tokyostyling.com/pc/archives/2601
2014・12.20追記
1、gw-usmicron.confに設定を書き込みます。
# nano /etc/modprobe.d/gw-usmicron.confinstall rt2800usb /sbin/modprobe --ignore-install rt2800usb;/bin/echo "2019 ed14" > /sys/bus/usb/drivers/rt2800usb/new_id
<以上改行なし>
2、Raspberry Pi起動時に自動的に読み込ませるようにもしておきます。
「modules」の末尾に下記を追加します。
# nano /etc/modules
rt2800usb
3、/etc/init.d/ena_wifi.shを作成、自動起動に登録しておきます。
# modprobe rt2800usb
# insserv ena_wifi.sh
4、続いて/etc/network/interfacesに以下を追記しておきます。
auto lo
iface lo inet loopback
iface eth0 inet dhcp
allow-hotplug wlan0
iface wlan0 inet manual
wpa-roam /etc/wpa_supplicant/wpa_supplicant.conf
iface default inet dhcp
5、/etc/wpa_supplicant/wpa_supplicant.confを作成、以下を追加しておきます。
Network={
 ssid="xxxxxxx"
 key_mgmt=WPA-PSK
 proto=WPA WPA2
 pairwise=CCMP TKIP
 group=CCMP TKIP WEP104 WEP40
 psk="********"
}
# chmod 600 wpa_supplicant.conf
6、続いて再起動します。
# reboot
7、以上で完了ですが、読み込まれているかを確認しておきます。
# ifconfig
「wlan0」が表示されていればOKです。

